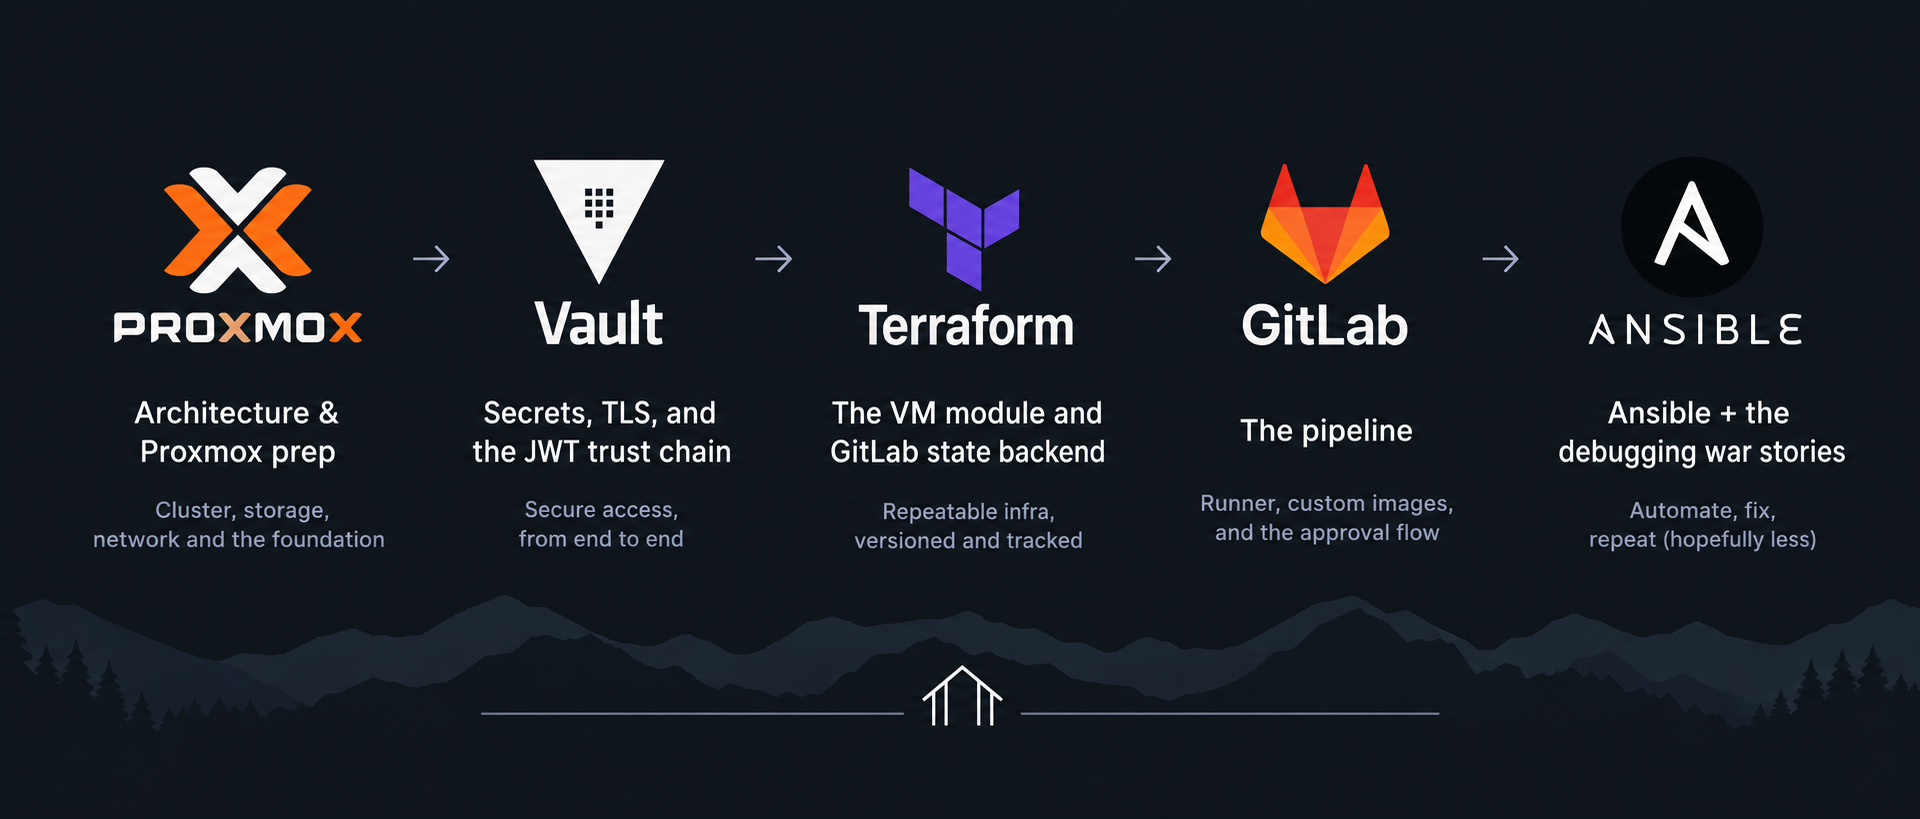
Building a GitOps VM Provisioning Platform on Proxmox — Part 3: Terraform & the GitLab State Backend

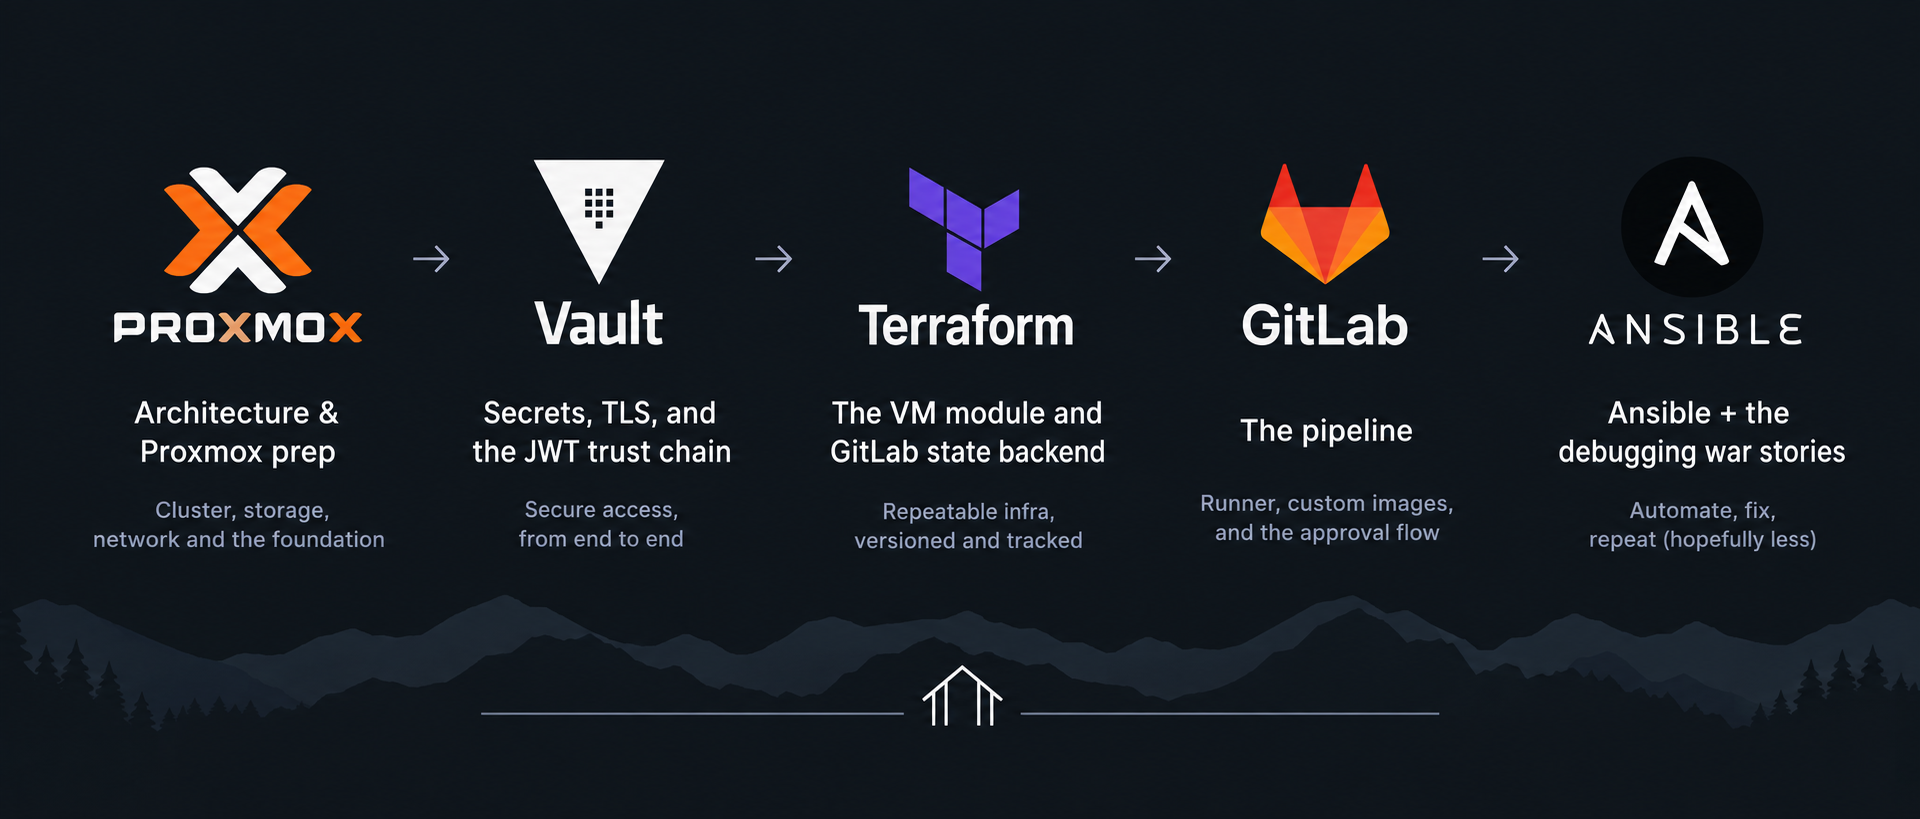
Part 2 got Vault holding every secret behind a trusted TLS endpoint, with CI jobs able to authenticate using nothing but a short-lived GitLab-issued JWT. Now we put that to work. This is the Terraform layer — the code that actually turns "I want a VM" into a running machine on Proxmox.
Three things to cover: the module (the reusable VM definition), the environment (what calls the module and wires in Vault), and the state backend (why it lives in GitLab and what that buys us). As with the rest of the series, I'm assuming Terraform fluency — the interesting parts are the decisions, not the syntax.
Why a module and an environment, not one big file
You could define the VM resource directly in a root module and call it a day. I split it into a reusable modules/proxmox-vm/ module and an environments/general/ root that calls it, for a reason that pays off later: the moment I want a second kind of VM — say, a set of k3s nodes with different defaults — I write a new environment that calls the same module, instead of copy-pasting a resource block and letting the two drift apart.
The module knows how to build a Proxmox VM. The environment knows what I want built. That separation is the whole point.
environments/general/     "I want a general-purpose VM, here are the specifics"
    │  calls
    ▼
modules/proxmox-vm/       "here's how to build any Proxmox VM"
The module
modules/proxmox-vm/main.tf is the heart of it. Here's the resource in full, then the parts worth talking about:
resource "proxmox_virtual_environment_vm" "vm" {
  name          = var.vm_name
  node_name     = var.node_name
  vm_id         = var.vm_id > 0 ? var.vm_id : null
  tags          = var.tags
  scsi_hardware = "virtio-scsi-single"

  agent {
    enabled = true
  }

  clone {
    vm_id = var.template_vm_id
    full  = true
  }

  cpu {
    cores = var.cpu_cores
    type  = "host"
  }

  memory {
    dedicated = var.memory_mb
  }

  network_device {
    bridge  = "vmbr0"
    model   = "virtio"
    vlan_id = var.vlan_id > 0 ? var.vlan_id : null
  }

  disk {
    datastore_id = var.datastore_id
    interface    = "scsi0"
    size         = var.disk_size_gb
    discard      = "on"
    iothread     = true
    file_format  = "raw"
  }

  initialization {
    datastore_id = var.cloudinit_datastore_id
    ip_config {
      ipv4 {
        address = var.vm_ip
        gateway = var.vm_gateway
      }
    }
    dns {
      servers = [var.dns_server]
    }
    user_account {
      username = "ubuntu"
      keys     = [var.ansible_ssh_key]
    }
  }

  lifecycle {
    ignore_changes = [
      clone,
      initialization,
    ]
  }
}
The decisions that matter:
scsi_hardware = "virtio-scsi-single" + iothread = true. These two go together, and I covered why in Part 1 — set iothread on a disk attached to any other controller and Proxmox silently ignores it. The bpg/proxmox provider surfaces this as a virtio-scsi-single requirement. If you see WARN: iothread is only valid with virtio disk or virtio-scsi-single controller, ignoring in your apply output, this line is missing or wrong.
agent { enabled = true }. This tells Proxmox to expose the virtio-serial device the QEMU guest agent uses. It has to match the --agent enabled=1 we baked into the template in Part 1. There's a whole Part 5 war story about what happens when the Ansible role tries to start the guest agent and this isn't set — the service fails because the device it needs doesn't exist.
The vm_id > 0 ? ... : null pattern. Terraform doesn't have a clean "unset" for an optional number that comes from a pipeline input. My inputs are strings-turned-numbers with a default of 0, and I translate 0 to null so Proxmox auto-assigns. Same trick on vlan_id — 0 means untagged, which the provider wants as null, not 0. This little ternary shows up because pipeline inputs can't easily pass "nothing."
full = true on the clone. A full clone copies the template's disk rather than creating a linked clone that depends on the template forever. Slightly slower to create, but the VM is independent — I can delete the template later without orphaning VMs.
file_format = "raw". Required for the storage I'm cloning onto. On my production Ceph setup, RBD only supports raw; the single-node local-lvm default is happy with it too, so raw is the portable choice.
The lifecycle { ignore_changes } block — this one is subtle and important. Once a VM is created and Ansible has configured it, I don't want Terraform trying to "fix" drift on the clone source or the cloud-init config. Without this, a later terraform plan might decide the initialization block changed (because cloud-init only applies on first boot and the running state looks different) and propose recreating the VM — destroying a machine I'm actively using. Ignoring changes on clone and initialization says "these are creation-time concerns; leave the running VM alone." This is the difference between a plan that's safe to approve and one that quietly proposes destruction.
The variables
variables.tf is mostly unremarkable, but one addition earned its place after a real incident:
variable "node_name" {
  type        = string
  description = "Proxmox node to deploy the VM on"

  validation {
    condition     = length(var.node_name) > 0
    error_message = "node_name cannot be empty. Set the proxmox_node pipeline input (e.g. pve)."
  }
}
Early on, I triggered a pipeline and left the node field blank. Terraform got an empty string, passed it to the provider, and failed deep in the apply with an unhelpful error about an empty node_name. The validation block turns that into an immediate, readable failure at plan time that tells me exactly what to fix. Cheap insurance against a class of "I fat-fingered the form" errors.
The storage defaults are worth noting for the single-node case:
variable "datastore_id" {
  type    = string
  default = "local-lvm"
}

variable "cloudinit_datastore_id" {
  type    = string
  default = "local-lvm"
}
On a fresh single-node Proxmox install, local-lvm is what you get out of the box, so these defaults let you follow along with no changes. On my production cluster the VM disk goes to Ceph (ceph-rbd) while the cloud-init drive goes to a directory-backed store — because cloud-init ISOs are tiny files and don't belong on block storage. Splitting them into two variables lets each environment make that call.
The environment
environments/general/main.tf wires everything together — the Proxmox provider (authenticated with the token from Vault), the module call, and the outputs:
provider "proxmox" {
  endpoint  = var.proxmox_endpoint
  api_token = data.vault_kv_secret_v2.proxmox.data["api_token"]
  insecure  = true # self-signed Proxmox cert; set false if you have a trusted one
}

module "vm" {
  source = "../../modules/proxmox-vm"

  vm_name         = var.vm_name
  template_vm_id  = var.template_vm_id
  node_name       = var.proxmox_node
  cpu_cores       = var.cpu_cores
  memory_mb       = var.memory_mb
  disk_size_gb    = var.disk_size_gb
  vm_ip           = var.vm_ip
  vm_id           = var.vm_id
  vm_gateway      = var.vm_gateway
  dns_server      = var.dns_server
  ansible_ssh_key = data.vault_kv_secret_v2.ansible.data["ssh_pubkey"]
  tags            = ["general", "managed"]
  vlan_id         = var.vlan_id
}
The line that ties this post to Part 2:
api_token = data.vault_kv_secret_v2.proxmox.data["api_token"]
The Proxmox provider's credential isn't a variable, isn't an environment value, isn't in the repo. It's read live from Vault at plan/apply time. Same for the Ansible SSH public key that gets injected via cloud-init. Which brings us to how that Vault read actually happens.
Reading from Vault
environments/general/vault.tf:
provider "vault" {
  address          = var.vault_addr
  skip_child_token = true
}

data "vault_kv_secret_v2" "proxmox" {
  mount = "secret"
  name  = "proxmox"
}

data "vault_kv_secret_v2" "ansible" {
  mount = "secret"
  name  = "ansible"
}
The Vault provider reads VAULT_ADDR and VAULT_TOKEN from the environment automatically — and that VAULT_TOKEN is the short-lived one the job obtained via JWT auth in its before_script (Part 2). So the chain is: GitLab mints a JWT → job exchanges it for a scoped Vault token → Terraform's Vault provider uses that token → reads the Proxmox credential → hands it to the Proxmox provider. No secret is ever written to disk or committed.
skip_child_token = true matters here. By default the Vault provider tries to create a child token to manage its own lifecycle — but our JWT-issued token is already short-lived and scoped, and (depending on policy) may not have permission to spawn children. Skipping it means "just use the token I gave you." Without this, you can get confusing permission errors even when your policy is correct.
One more nice touch in the environment — a data source that surfaces node capacity in the plan output:
data "proxmox_virtual_environment_nodes" "all" {}

output "node_resources" {
  value = {
    for i, name in data.proxmox_virtual_environment_nodes.all.names : name => {
      cpu_usage_percent = floor(data.proxmox_virtual_environment_nodes.all.cpu_utilization[i] * 1000) / 10
      memory_used_gb    = floor(data.proxmox_virtual_environment_nodes.all.memory_used[i] / 107374182) / 10
      memory_total_gb   = floor(data.proxmox_virtual_environment_nodes.all.memory_available[i] / 107374182) / 10
    }
    if data.proxmox_virtual_environment_nodes.all.online[i]
  }
}
When the plan gets posted to Slack for approval, I can see current CPU and memory per node right there — so I know whether the node I picked actually has room before I approve. Small thing, but it turns the approval step into an informed decision instead of a rubber stamp. Works identically on one node or a cluster.
State in GitLab
Terraform state has to live somewhere durable and shared — the pipeline is stateless between runs, so local state is useless. I use GitLab's built-in HTTP state backend. No S3 bucket, no separate state server, no extra infrastructure.
environments/general/versions.tf just declares the backend as HTTP:
terraform {
  required_providers {
    proxmox = {
      source  = "bpg/proxmox"
      version = "~> 0.77"
    }
    vault = {
      source  = "hashicorp/vault"
      version = "~> 4.0"
    }
  }

  backend "http" {}
}
The empty backend "http" {} is intentional — all the actual configuration is passed at init time via environment variables in the pipeline, so no project-specific URLs are hardcoded in the repo. The pipeline sets them like this (previewing Part 4):
variables:
  TF_HTTP_ADDRESS: "${CI_API_V4_URL}/projects/${CI_PROJECT_ID}/terraform/state/${TF_STATE_NAME}"
  TF_HTTP_LOCK_ADDRESS: "${CI_API_V4_URL}/projects/${CI_PROJECT_ID}/terraform/state/${TF_STATE_NAME}/lock"
  TF_HTTP_UNLOCK_ADDRESS: "${CI_API_V4_URL}/projects/${CI_PROJECT_ID}/terraform/state/${TF_STATE_NAME}/lock"
  TF_HTTP_LOCK_METHOD: "POST"
  TF_HTTP_UNLOCK_METHOD: "DELETE"
  TF_HTTP_USERNAME: "gitlab-ci-token"
  TF_HTTP_PASSWORD: "$CI_JOB_TOKEN"
Two things I like about this. First, authentication uses $CI_JOB_TOKEN — a token GitLab generates per job and revokes when the job ends. The state backend needs no stored credential either; it rides the same per-job identity model as everything else. Second, GitLab's HTTP backend supports state locking natively (the LOCK_ADDRESS / UNLOCK_ADDRESS), so two pipelines can't corrupt state by applying simultaneously.
The locking gotcha
Locking is great until a job dies mid-apply and leaves the lock held. The next pipeline then fails with Error acquiring the state lock. When that happens you force-unlock via the GitLab API:
curl --request DELETE \
  --header "PRIVATE-TOKEN: <your-token>" \
  "https://gitlab.com/api/v4/projects/<project-id>/terraform/state/general/lock"
And if you're ever manipulating state from your own machine rather than CI — say, to remove a resource that got into a bad state — you point the same TF_HTTP_* environment variables at your local shell (with a personal access token instead of the CI token) and run terraform state commands directly. I had to do exactly this once when an apply failed after creating a VM but before saving state; I'll tell that story properly in Part 5.
Where this leaves us
We now have Terraform that clones a template into a fully-specified VM, reads its Proxmox credential live from Vault, stores state safely in GitLab with locking, and refuses to do anything destructive to a running VM thanks to the lifecycle rules. What we don't have yet is anything driving it — no validation, no plan-and-approve flow, no way to actually trigger it without running Terraform by hand.
That's Part 4: the GitLab CI pipeline itself. The runner setup, the custom Docker images that make jobs fast, the validate/plan/apply/configure stages, and the Slack approval gate that turns terraform apply into a reviewed action instead of an automatic one. It's where all the pieces from Parts 1–3 finally start moving on their own.
Full code for the series is at github.com/jevellangelo/proxmox-gitops.
 jevellangelo
 Jevell Acebedo
 Jevell Acebedo